A tamper seal only works when it is fitted properly. A high-quality void label, destructible seal or security tape can provide clear evidence of interference, but poor surface preparation or unsuitable placement can leave a weak point that undermines the protection. Knowing how to apply tamper seals correctly helps organisations protect IT equipment, cabinets, meters, stock, tools and other controlled assets with reliable, visible evidence of unauthorised access.
For facilities, IT and operations teams, the objective is not simply to make a seal difficult to remove. It is to make any attempt to open, alter or substitute an item obvious during routine checks. That calls for the right seal material, a clean application process and a documented inspection routine.
Choose the tamper seal for the asset and environment
Before applying anything, make sure the seal suits the item being protected. Tamper-evident labels are not all designed to perform in the same way. A label that leaves a visible VOID message when lifted is often suitable for laptop covers, network cabinets, parcel closures and equipment access panels. Destructible vinyl labels break into small pieces when removal is attempted, making them useful where a clear physical disturbance is required.
The surface matters as much as the label. Smooth, non-porous surfaces such as painted metal, sealed plastic and glass generally give the most dependable adhesion. Textured powder-coated metal, rough plastic, untreated timber, rubberised finishes and heavily curved areas need more consideration. On challenging surfaces, a sample test is sensible before committing to a full roll or asset programme.
Think about operating conditions too. Equipment held in a warm plant room, used outdoors, stored in a warehouse or cleaned regularly may require an adhesive and face material designed for that exposure. Cold, moisture, oils and cleaning chemicals can all affect adhesion over time. Applying a standard indoor label to a damp, uneven surface may create a failure that looks like tampering when it is simply poor adhesion.
How to apply tamper seals step by step
A consistent process is especially valuable where several people apply seals across a large estate. Give staff a simple instruction sheet and ensure the same seal position is used for the same type of asset wherever practical.
Inspect the item and select the seal position
Start by identifying the access point you need to protect. This could be the join between a computer casing and its removable cover, a cabinet door and frame, a meter housing, a tote lid or a carton flap. The seal should bridge the point where opening or separation would occur. It should not sit entirely on one removable section, as that would allow the item to be opened without disturbing it.
Choose a flat, accessible area that will remain visible during inspection. Avoid hinges, deep recesses, screw heads, sharp corners, vents and areas that flex during normal use. A seal placed over a hinge may wrinkle or lift through ordinary movement. One applied too close to an edge can be peeled back more easily than intended.
Where an asset has several possible access points, assess the risk rather than applying labels at random. A single seal may be sufficient for a low-risk enclosure with one opening point. A high-value item with multiple removable panels may need seals at more than one location.
Clean and dry the application area
Dirt, dust, grease, polish and moisture are common causes of label failure. Wipe the chosen area with a clean, lint-free cloth and a suitable surface cleaner, then allow it to dry fully. Isopropyl alcohol is widely used for compatible hard surfaces, but always check that it will not damage coatings, printed markings or sensitive equipment finishes.
Do not apply a tamper seal over adhesive residue from an old label. Remove residue first and ensure the surface is dry. If the item has recently been brought in from a cold vehicle or store, wait until condensation has cleared. Applying a label to a cool, damp surface can reduce initial bond strength significantly.
Apply the seal in one controlled movement
Handle the label by its edges where possible. Avoid touching the adhesive with fingers, as skin oils can reduce adhesion. Peel back the release liner carefully and align the seal before it contacts the asset.
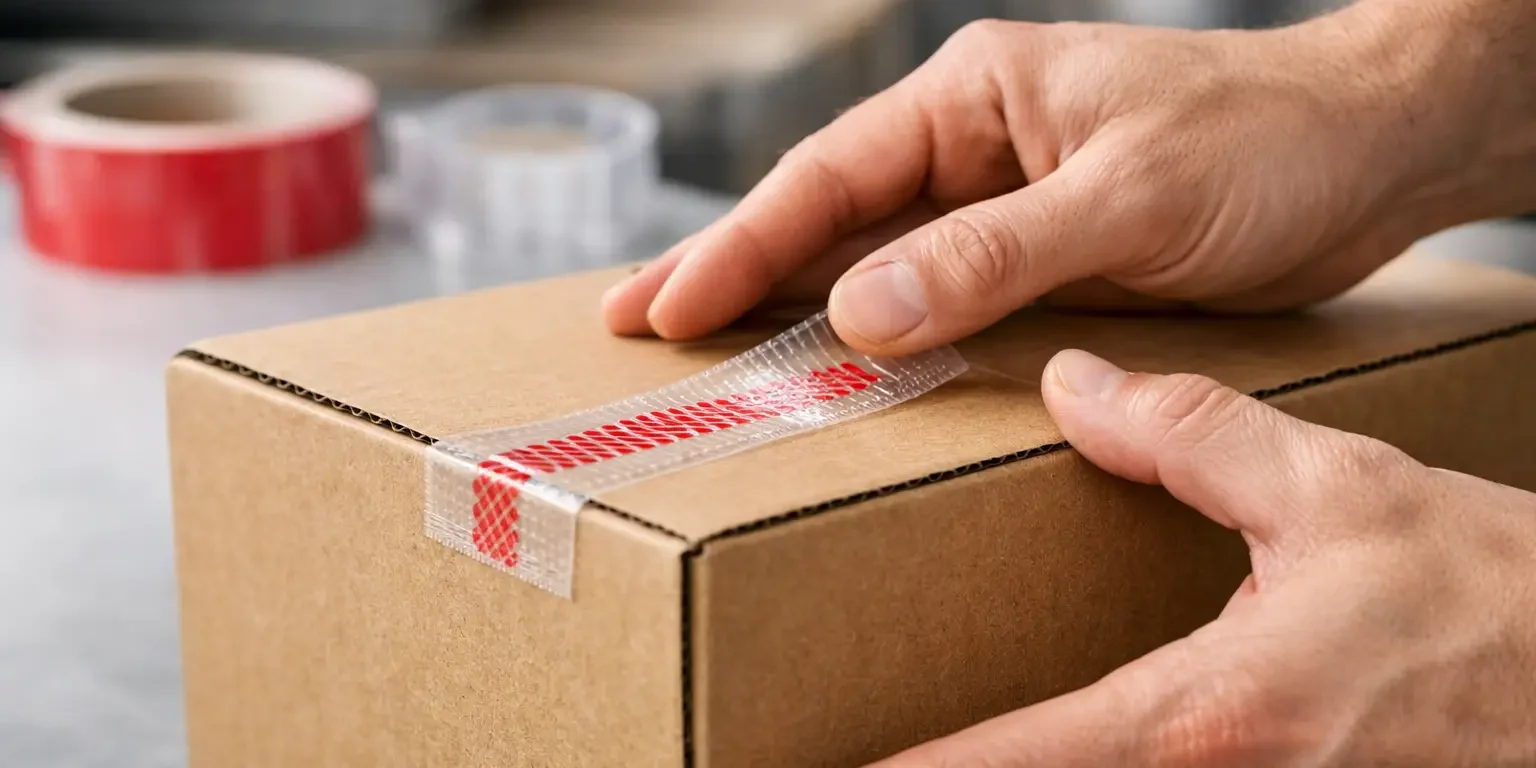
Place one end first, then press the rest of the label down gradually from the centre outwards. This reduces the chance of trapping air bubbles or creating wrinkles. Use firm, even pressure across the whole seal, paying particular attention to the edges and to the point where it crosses the join or opening line.
For longer security labels or tape, apply steadily rather than pulling the material tight. Stretching can cause it to shrink back later, which may lift an edge. On slightly curved equipment, choose a smaller seal format where possible instead of forcing a large label around the curve.
Allow time for the adhesive to bond
Most pressure-sensitive adhesives achieve their best bond after a period of dwell time. The exact timing depends on the material, adhesive and environment, but the practical rule is simple: do not test, clean or repeatedly handle the seal immediately after fitting it.
If the asset must be moved straight away, avoid rubbing against the newly sealed area. Where a roll-out involves hundreds of units, plan the work so seals can settle before equipment is returned to service or packed for transport.
Record the seal as part of asset control
A tamper seal is more useful when it can be tied to an asset record. For controlled equipment, record the asset number, serial number, seal type, seal position, date applied and name of the person carrying out the work. A quick photograph can also be worthwhile for high-value or regulated assets, especially where the exact location of the seal is significant.
Numbered tamper seals add another layer of accountability. Each unique number can be recorded against the relevant asset, cabinet or consignment. If a seal is replaced, log the old number, new number, reason for replacement and authorising person. This creates a clear audit trail and helps distinguish legitimate maintenance from unexplained interference.
Custom tamper-evident labels can combine a company name, serial number, barcode or QR code with the security message. This can reduce administration where teams already scan assets during stocktakes or inspections. Security-Label.co.uk can produce bespoke layouts for organisations that need tamper evidence and asset identification on one label.
Check for the common application mistakes
Most problems can be avoided with a short quality check after fitting. Look for the following issues before signing off the job:
- The seal does not cross the opening line, joint or closure point it is meant to protect.
- An edge is lifting, a bubble is trapped underneath, or the label has been applied over dirt or residue.
- The seal is hidden behind a bracket, cable or stored item and cannot be inspected easily.
- The material is unsuitable for the surface, temperature or cleaning conditions.
- The seal number or asset reference has not been recorded where traceability is required.
A label that is visibly damaged during application should be replaced immediately. Do not try to press down a creased destructible label or reuse a seal that has been removed from its liner and contaminated. The cost of a replacement is small compared with the uncertainty created by a questionable security seal.
Inspect seals without creating false alarms
Inspection should be proportionate to the value and risk of the assets. A locked server cabinet or controlled medicine store may need frequent checks. A low-risk office monitor may only need inspection during scheduled asset audits, moves or maintenance visits.
Inspect the seal and the surrounding surface, not just the centre of the label. Look for lifted corners, splits, disturbed adhesive, mismatched residue, a broken void pattern or evidence that the seal has been cut and repositioned. Compare numbered seals against the asset register where used.
Not every damaged seal proves malicious activity. Heat, cleaning products, accidental knocks and unsuitable surfaces can cause failure. Treat a broken or lifting seal as an exception to investigate, then consider the evidence alongside access logs, maintenance records and the asset’s condition. If authorised work has taken place, remove the old seal completely, apply a new one and update the record.
Make tamper evidence part of the process
Tamper seals work best when they support an existing control process rather than replace one. Staff should know which seals they are allowed to break, who authorises access and how replacements are recorded. A seal on its own cannot stop a determined theft or prevent every form of access, but it provides an immediate visual signal that prompts the right question: has this item been opened, and was it authorised?
Apply seals carefully, use materials suited to the job and keep the record simple enough to maintain. That approach gives your team dependable evidence when it matters, without adding unnecessary administration to everyday asset management.