A missing laptop, a projector moved between meeting rooms, or a monitor returned without its stand can quickly turn into a time-consuming investigation. To label office equipment clearly is to give every asset a visible identity that staff can check in seconds and your records can follow for years. Done properly, asset labelling reduces avoidable loss, supports audits and makes equipment ownership much easier to prove.
The label itself is only one part of the job. It needs the right information, a material suited to the surface and environment, and a numbering system that ties directly back to an accurate asset register. A cheap paper sticker with a handwritten number may work for a short-term cupboard count. It is not a dependable solution for equipment that moves, is cleaned regularly or must remain identifiable throughout its working life.
Why clear office equipment labels matter
Office assets are routinely shared, moved, repaired and replaced. IT equipment may pass between users, facilities teams may relocate furniture and appliances, and loan items can leave the building altogether. Without a consistent identification method, an asset register soon becomes a list of uncertain descriptions rather than a useful control tool.
A clear label helps answer practical questions: what is this item, who owns it, what number is it recorded under, and can it be scanned? That matters at stocktakes, during insurance claims, when disposing of equipment, and whenever a device goes missing. A visible asset label can also deter opportunistic theft, particularly when it carries a unique serial number and is difficult to remove cleanly.
For organisations with audit requirements, consistency is as valuable as visibility. If one department labels monitors with handwritten tags, another uses internal serial numbers and a third uses no labels at all, reconciliation takes longer and mistakes become more likely. One agreed format gives finance, IT, operations and external auditors a common reference point.
How to label office equipment clearly from the start
Begin with the asset register, not the label design. Decide what information staff need to see on the item and what information should sit only in your management system. The label should identify the asset quickly without becoming crowded or exposing unnecessary details.
For most organisations, a unique asset number is the essential starting point. This number should never be reused, even after equipment has been disposed of. Reusing numbers creates confusion when historic records, warranties or insurance documents are reviewed later.
A useful label commonly includes the following information:
- the organisation name or logo
- a unique asset number
- a barcode or QR code linked to the same number
- a short instruction such as “Property of” or “Return to IT”
- a contact number, email address or internal department where appropriate
The correct balance depends on the equipment and how it is used. A small headset case may only have room for an asset number and compact barcode. A desktop PC or photocopier can accommodate a larger label with branding, ownership wording and a contact route. Keep text large enough to read without handling the item, especially on shared equipment in meeting rooms or reception areas.
Use a numbering system people can understand
An asset code does not need to reveal every detail about an item. Long codes packed with department, location, purchase year and item type often become difficult to manage when equipment moves. A simple permanent number, such as IT-004821, is usually more reliable. The asset register can hold the changing information, including user, room, condition and replacement value.
If you do use prefixes, apply them consistently. For example, prefixes can distinguish IT equipment from facilities assets or audiovisual equipment. Avoid formats that depend entirely on a room number or named employee, as both may change. The best system is one your team can apply correctly without having to interpret a complicated code.
Choose the right barcode format
A barcode turns a visual label into a practical tracking tool. Scanning is faster than typing, reduces transcription errors and makes regular checks far more realistic for busy teams. The right barcode symbology depends on your software, scanner and the amount of data required.
Code 128 is a common choice for asset labels because it can encode letters and numbers in a compact space. QR codes are useful where staff may scan with a mobile phone or need to access a web-based record, service history or reporting form. The key point is compatibility: confirm what your asset management system accepts before ordering labels.
Do not print a barcode simply because it looks professional. Test a sample with the scanner, app or handheld device your staff will use. Print quality, size, contrast and the curve of the surface can all affect reliable scanning.
Select a label material that lasts
The durability of an office equipment label depends on more than adhesive strength. Surface type, heat, cleaning chemicals, friction and sunlight all affect performance. A label fitted to a smooth plastic laptop base has very different requirements from one applied to a textured tool case, a metal cabinet or a device that becomes warm in use.
Polyester asset labels are widely used for office equipment because they offer a professional finish and good resistance to everyday wear. They are suitable for many smooth surfaces, including computers, monitors, printers and furniture. For tougher conditions, laminated or specialist materials can provide better resistance to abrasion, moisture and cleaning.
Adhesive choice also matters. Permanent adhesive is suitable when the label should remain with the asset for its full life. High-tack adhesive can be useful on difficult, lightly textured or low-energy plastic surfaces. Before a large order, test labels on representative equipment, particularly where units have powder-coated metal, rubberised finishes or heavily textured plastic.
When tamper-evident labels are worth using
Standard asset labels identify equipment, but tamper-evident labels add a clear sign if someone attempts to remove or interfere with them. Depending on the material, removal may leave behind a visible residue, reveal a message such as VOID, or cause the label to break apart.
They are particularly useful for laptops, tablets, portable test equipment, audiovisual kit and high-value devices that are moved between sites. They can also support chain-of-custody controls where equipment is held in stores or issued to staff. The trade-off is that tamper-evident materials are designed to be difficult to remove, so placement must be considered carefully before application.
A tamper-evident label is not a substitute for physical security, encryption or proper access controls. It is a practical layer of deterrence and evidence. It makes unauthorised removal more obvious and helps staff identify whether the asset label itself can still be trusted.
Put labels where staff can find and scan them
A clear label is no use if it is hidden by a docking station, damaged during routine use or placed on a removable part. Choose a flat, accessible area that does not cover ventilation slots, safety markings, manufacturer serial numbers, ports or service panels.
For laptops, the underside is common, but avoid feet, vents and battery release areas. For monitors, a lower rear corner or the stand may work, provided the stand is not likely to be swapped. For printers and shared appliances, an accessible side panel is often better than the back, where staff may struggle to scan it without moving the unit.
Use the same placement for the same category of equipment wherever possible. During a stocktake, consistency saves minutes on every item. Over hundreds of assets, that becomes a meaningful saving in staff time.
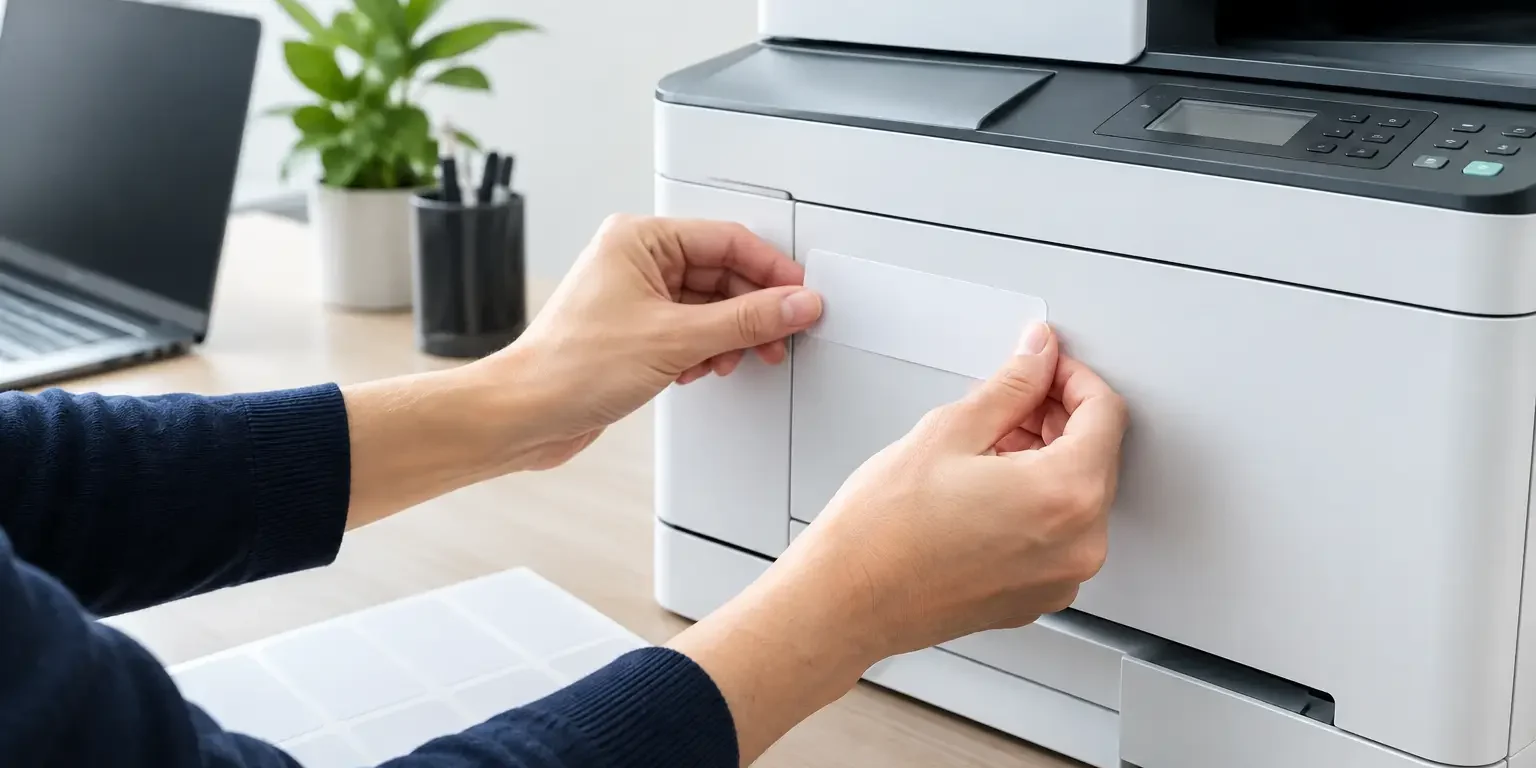
Clean and dry the surface before application. Remove dust, polish, oil and cleaning residue, then apply the label with firm, even pressure. Allow the adhesive time to bond before exposing the equipment to heavy handling or cleaning. Rushing this small step is a common reason labels lift at the edges.
Make labelling part of the asset process
The strongest asset labelling programmes are built into routine workflows. New equipment should be recorded, labelled and scanned before it is issued. Transfers between departments should update the register. Repairs and disposals should retain the asset number in the history, even if the item is no longer active.
Give staff a simple rule: if an item has an asset label, it must be scanned or recorded when responsibility changes. This is easier to enforce when labels are legible, barcode scanning works first time and the register is not overloaded with irrelevant fields.
Regular spot checks are more effective than waiting for an annual stocktake to reveal problems. Check a sample of meeting rooms, cupboards and assigned devices, then correct missing labels, duplicate records and inaccurate locations promptly. Small corrections prevent a large reconciliation exercise later.
Security-Label.co.uk can produce bespoke asset labels with logos, sequential numbering, barcodes, QR codes and tamper-evident options, allowing organisations to match the label specification to the equipment and system already in place.
The most effective label is the one staff can see, scan and trust without hesitation. Start with the assets that move most often or carry the greatest replacement cost, then apply the same clear standard across the rest of the estate.